Welcome to the CTMH Technique Blog Hop

The theme for the January CTMH Technique Blog Hop is "Tag, You're It!". This blog will highlight artwork using TAGS!! The Tags could be Thin Cuts, stamp sets, or some other form of tag using CTMH products. So, I'm eagerly anticipating the
TAG inspiration in this hop.
TAG inspiration in this hop.
If you are coming from Debi McBain's blog, you are on the right track. In case you get lost, you can get a complete list of participants at the bottom of Melissa Robinson's blog. This
month we have 9 Close to My Heart Consultants sharing their creations
using "TAGS" to inspire their art. To enjoy this hop is
quite simple to do - just click on the link at the bottom of the post on
each blog to move to the next one.
Here we go!
Here we go!
 |
| Front Back |
I hope you enjoy the possibilities.
1. This card can be made pretty much any size.
*I made a 5X7 - vertical.
*4 ¼ X 5 ½, and 6 X 6 work OK, also.
2. Once you cut your rectangle you can decide if you like it
vertical or horizontal.
3. Fold it in 1/2
4. Create a center cut to the fold line on one side of the fold
5. On the other side of the fold line, cut two lines to the center fold (see photo below)
*They should be at least 3/4 inch or 1 inch wide. It can be wider depending on the center portion you want for the
"stand-up" part of the card.
You can leave the center part as a rectangle or get creative and cut out a shape using a thin cut.
You can leave the center part as a rectangle or get creative and cut out a shape using a thin cut.


You can put the card in an envelope and the center pops up when released.
Feel free to ask questions if my instruction are not clear.
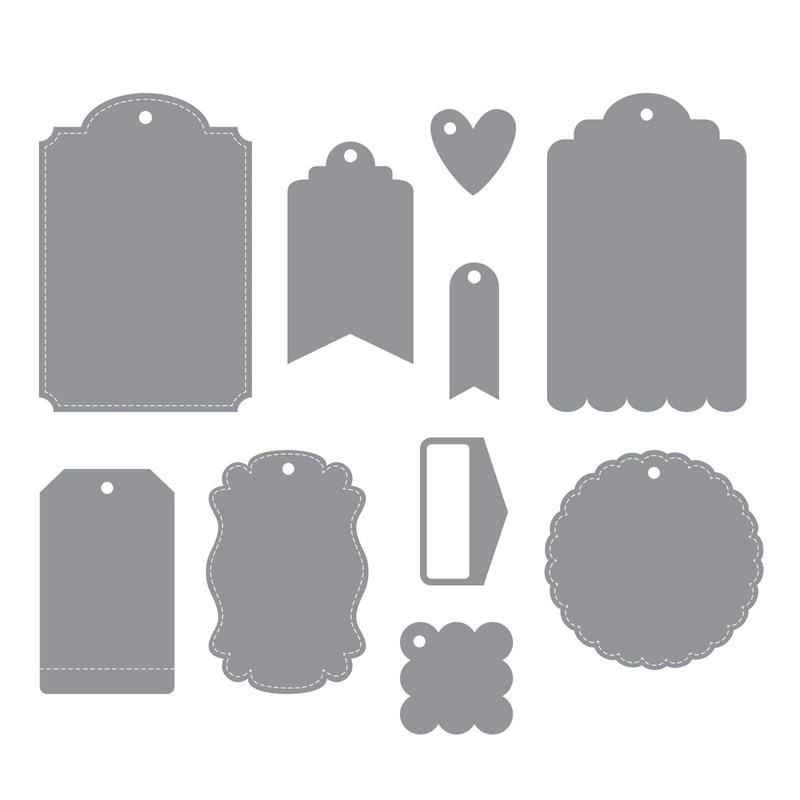
For this challenge, I used the medium sized tag with the "wavy" edges and made a partial cut ending on the fold and didn't include the edge with the hole for twine or ribbon for the stand up part of the card. I also used the same tag for the sentiment "Happy Birthday from our Stamp of the Month - Card Captions.
Materials used:
For my first card, I used the round/scalloped thin cut from Thin Cuts - Fancy Tags. Found on the Seasonal Expressions 1 New Product Blog Hop

Now hop on over to Lauren Moore's blog to
see what kind of fabulous art she's created. Be sure to drop a
comment, we enjoy the encouragement. I hope you enjoy the hop. If you
see an item(s) you would like to purchase, contact your CTMH consultant
or you can shop HERE with me.
The impossible card, huh?! Well it's totally cute and it must not be that difficult! I can't wait to try it! Thanks for the inspiration!
ReplyDeletehaha - the "impossible card" is really easy. I do have photo steps to show how easy. coming SOON!!
ReplyDeletePhotos now are posted.
DeleteWhat a great version of the impossible card!
ReplyDelete